Skip to content
Call or Text us Today: 866-RENO-101 (866-736-6101)
Home
About
Services
Cabinet Sales
Kitchen Remodel
Bathroom Remodel
Commercial & Residential Painting
Closet Remodel
Flooring Upgrade
Gallery
Contact
Home
About
Services
Cabinet Sales
Kitchen Remodel
Bathroom Remodel
Commercial & Residential Painting
Closet Remodel
Flooring Upgrade
Gallery
Contact
Free Consultation
Free Consultation
FREE CONSULTATION
Send
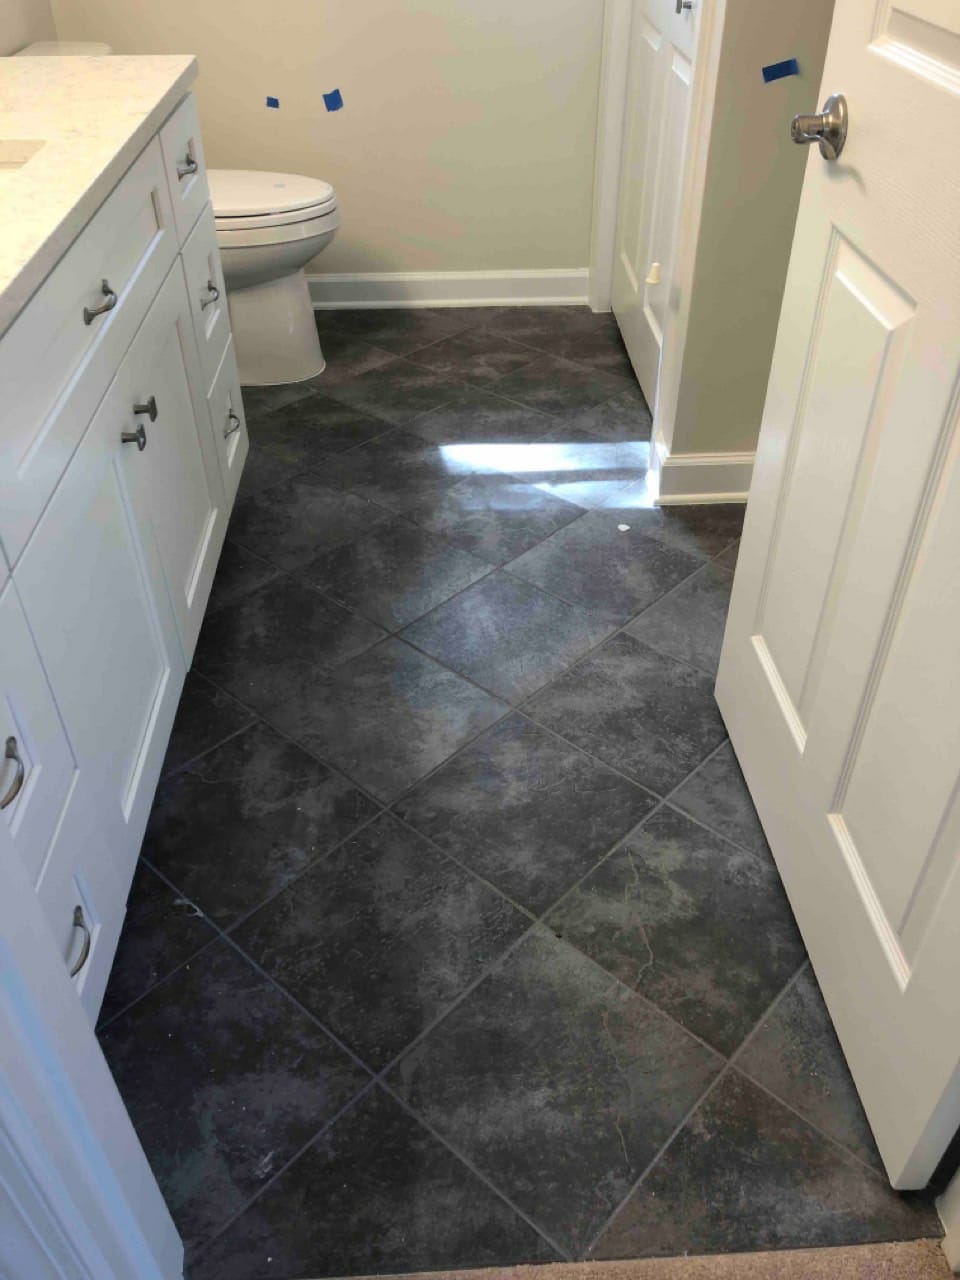
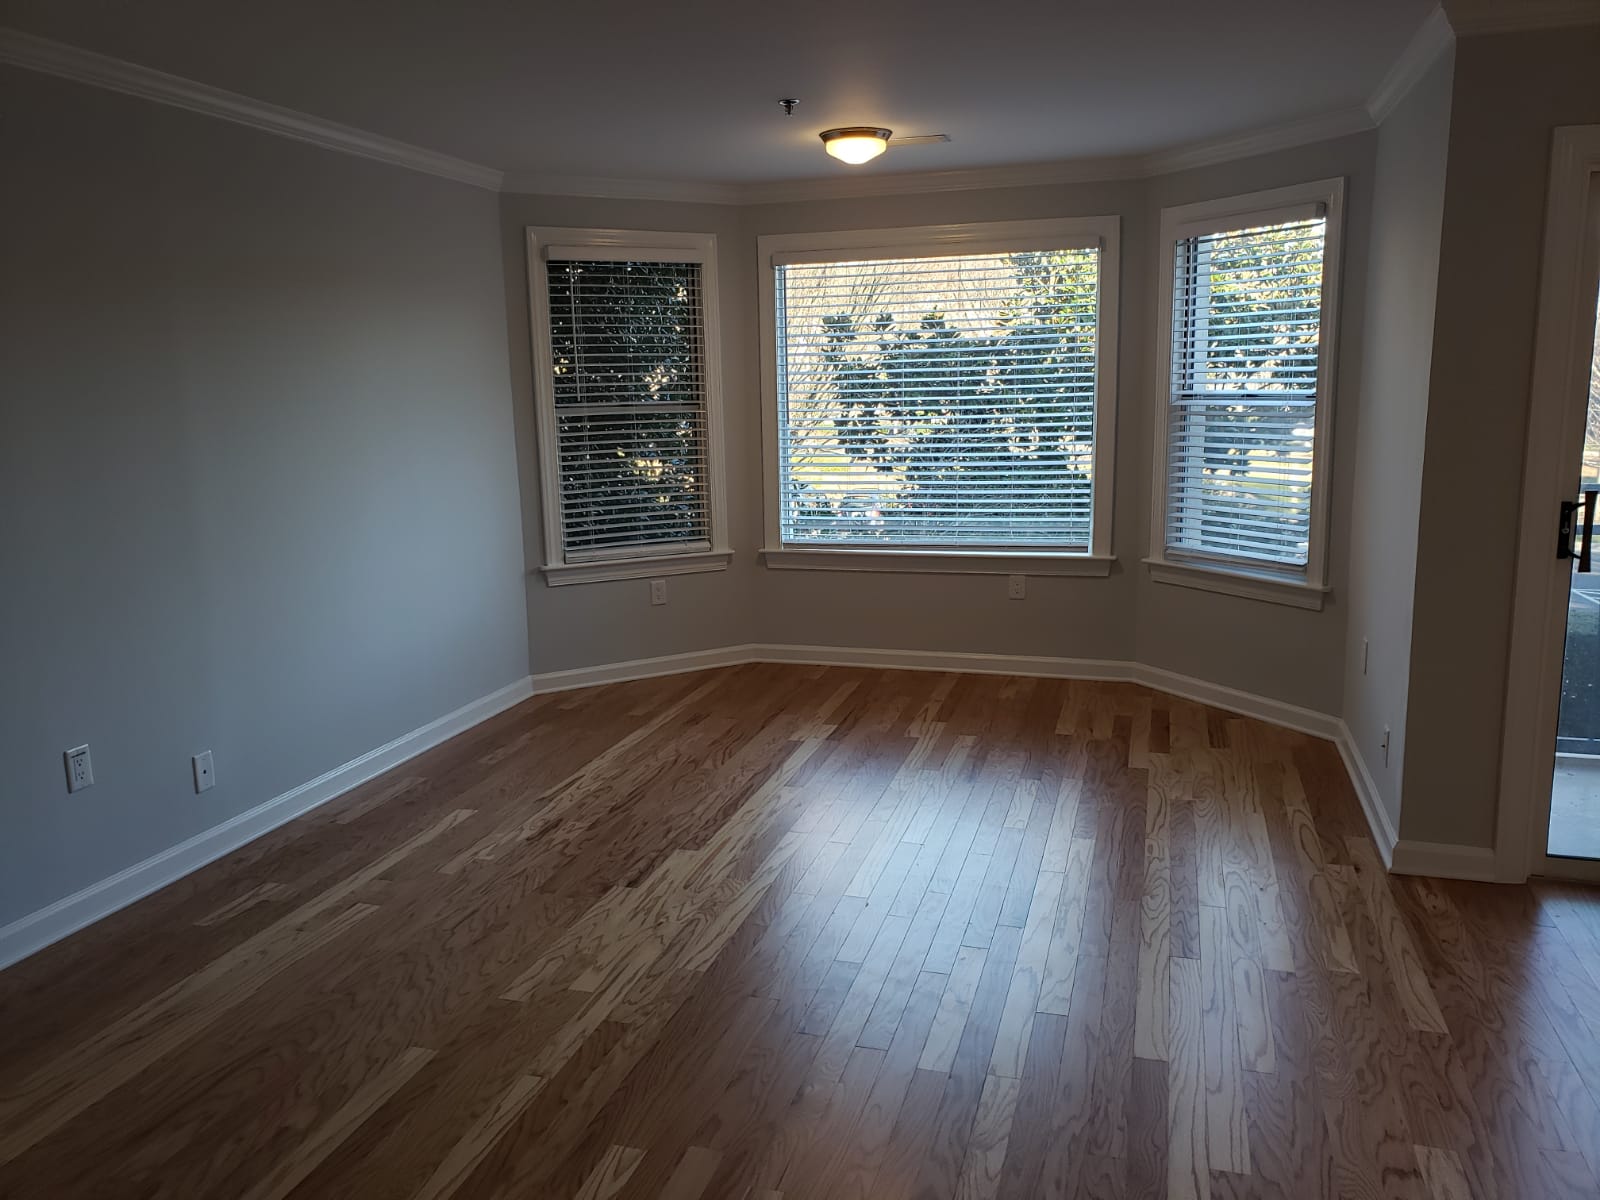
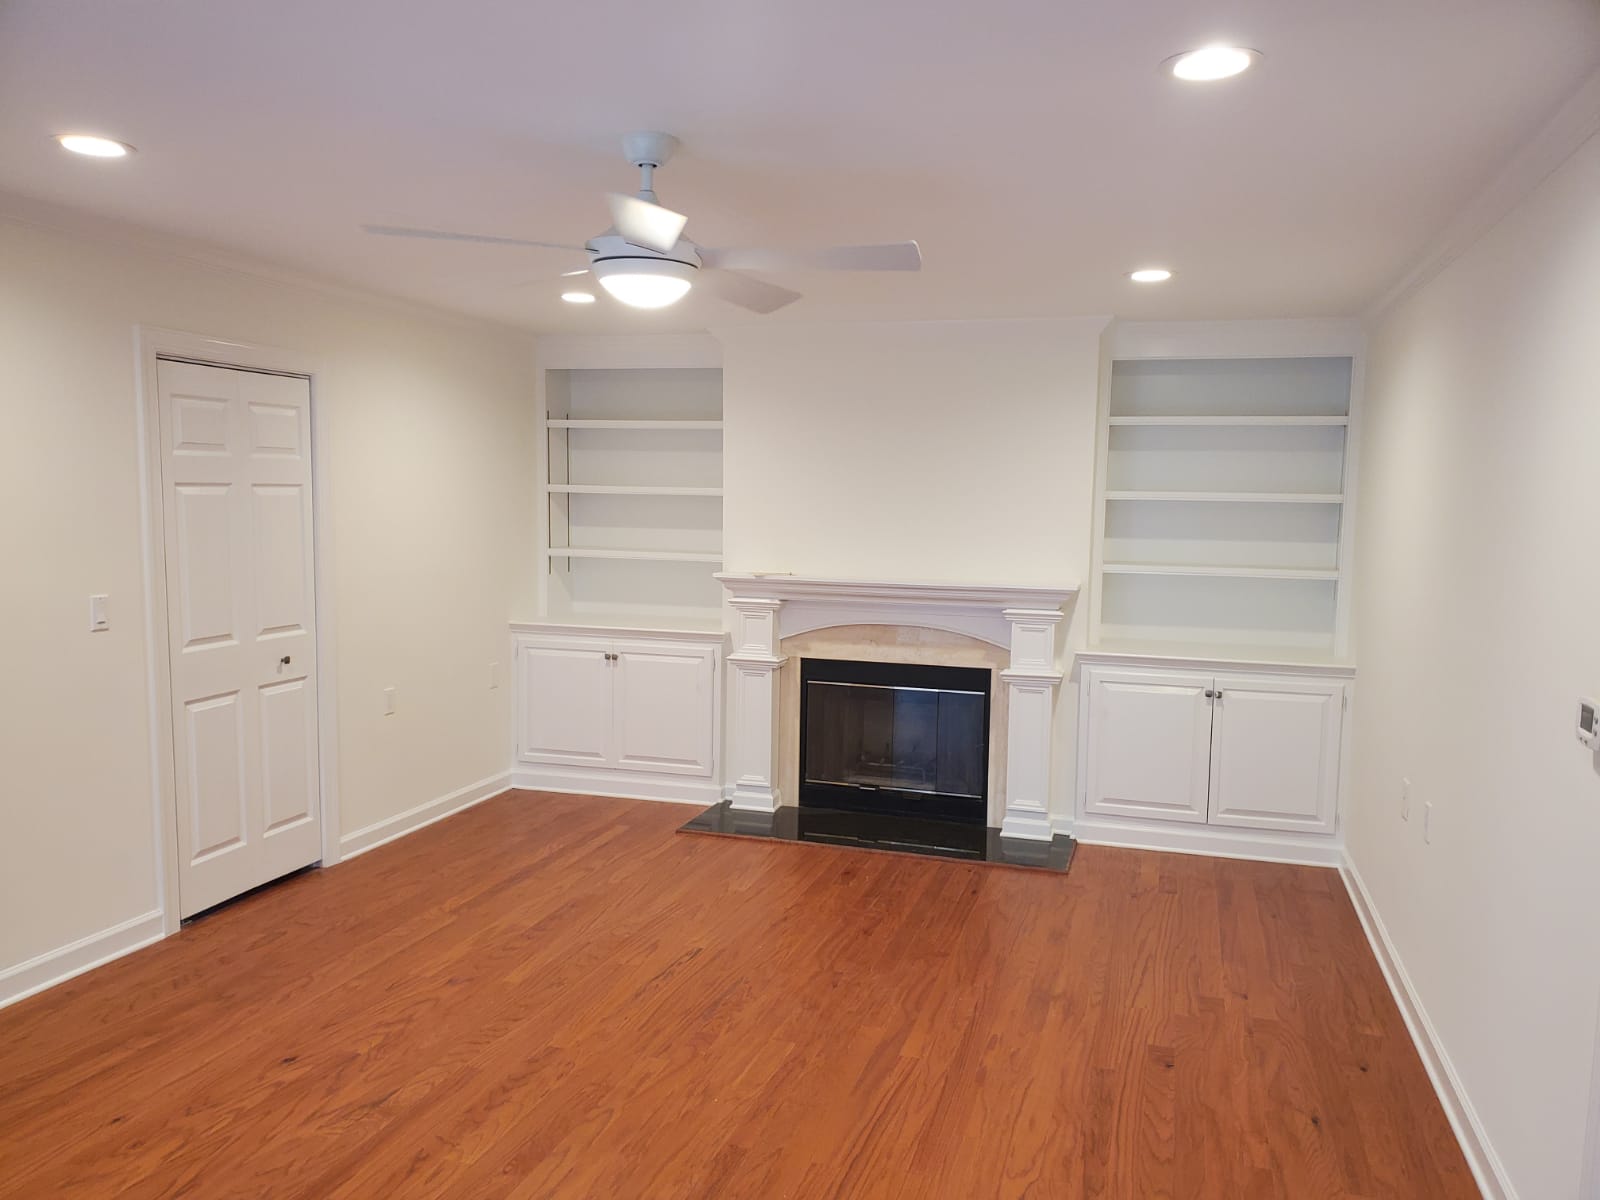
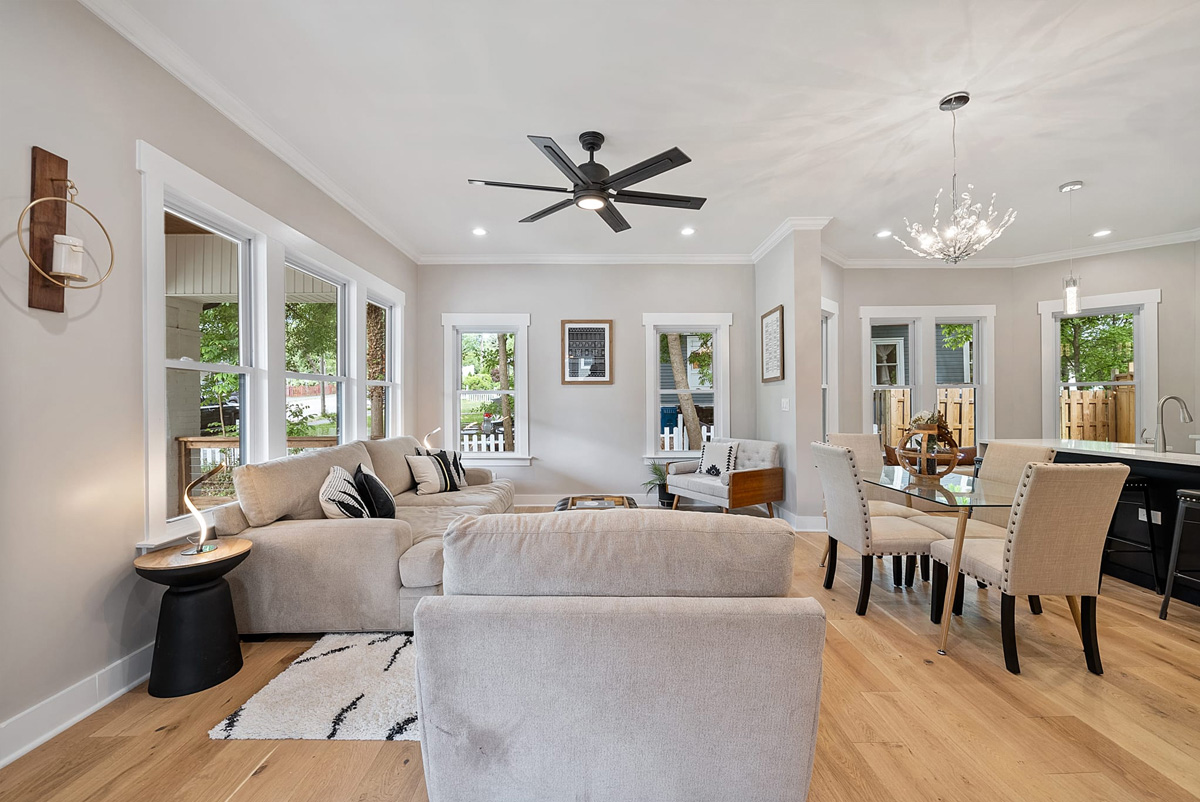
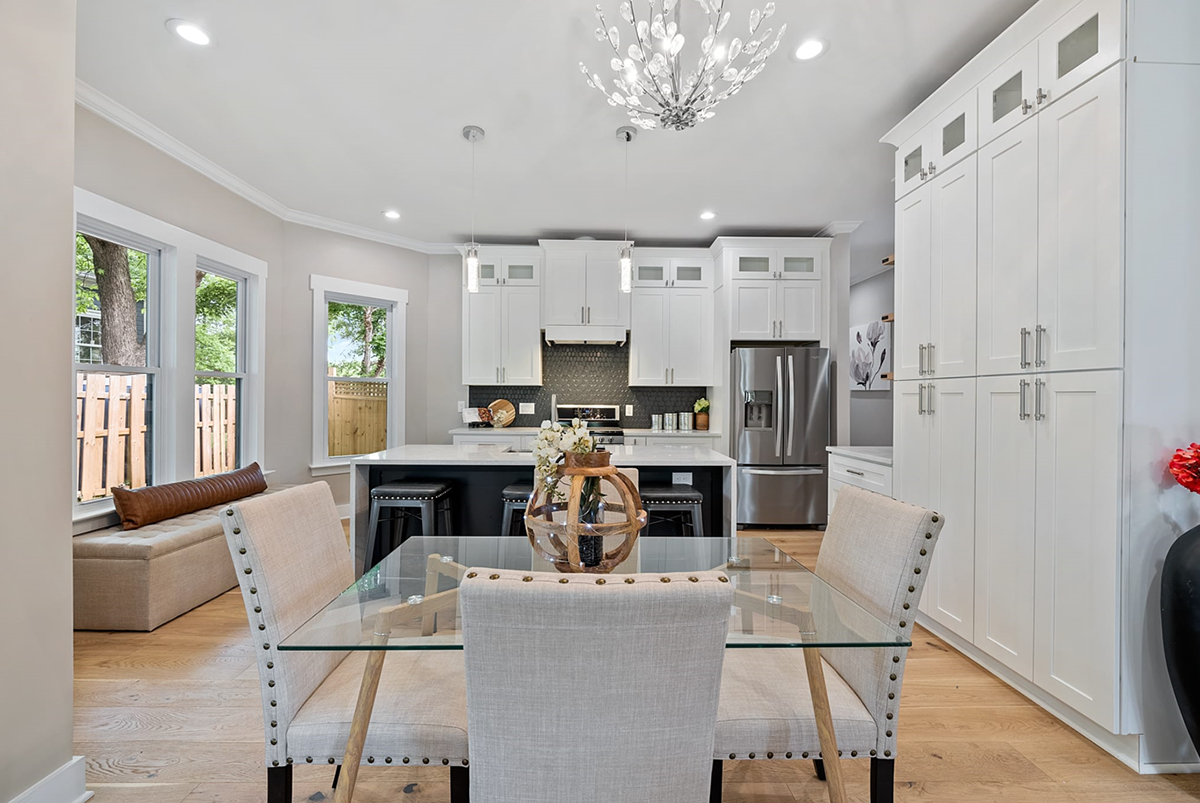
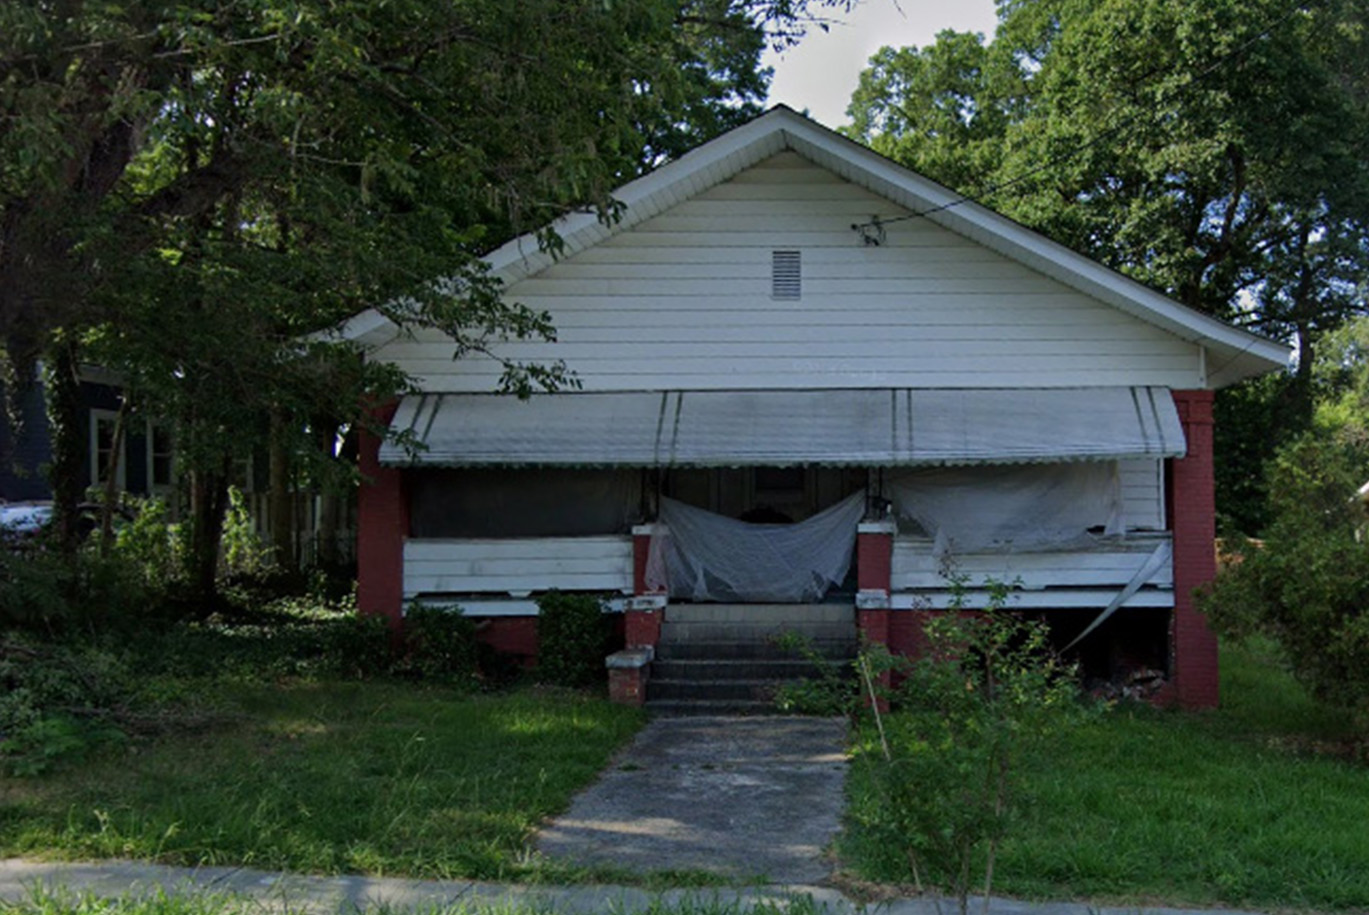
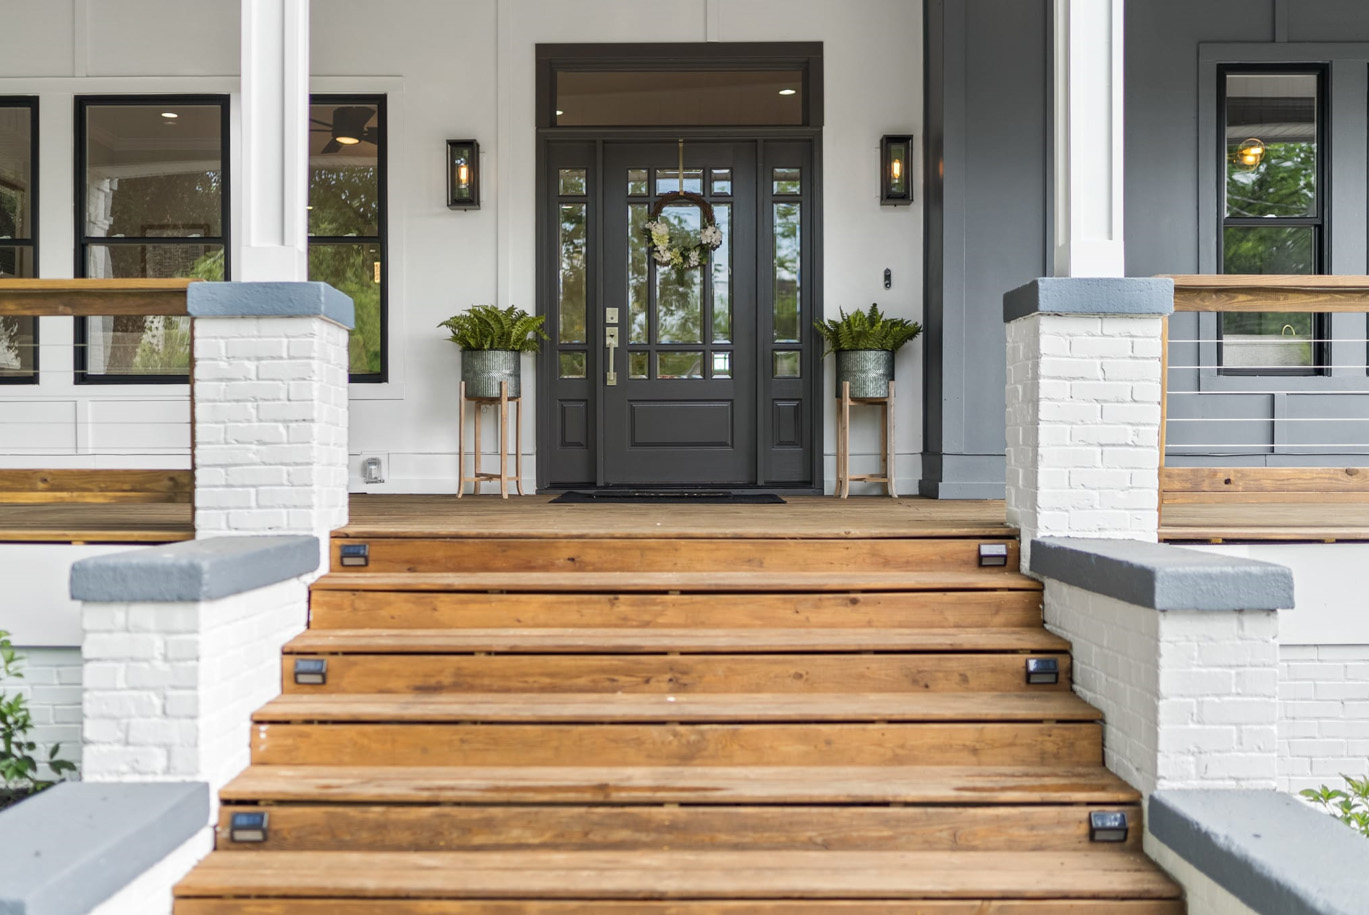
Picture Gallery